Creating & Managing User Groups
Description
As a Company admin, I am able to create User Groups of various types to ensure users have to correct roles and permissions when accessing SkillsNow.
Applicable User Roles
List of roles that have access or can use this feature.
Company Admin
How To
Create a User Group
There are three types of user groups - See here User Group Types but the process for creating each one is identical.
When you are on the Groups and Users page, and you have the Company selected, you will see a '+' button on the different User Group types.
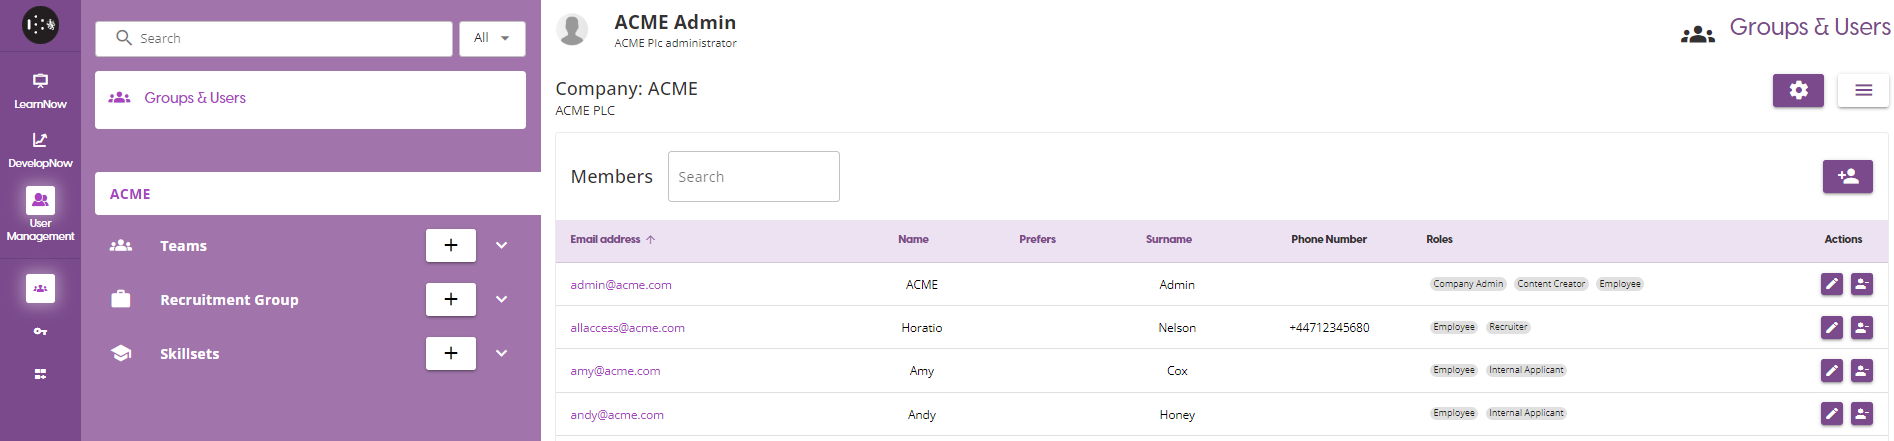
Clicking on this button will open a pop-up, in which you can enter the basic details for the group. Enter a group name and description, and press the save button to create the team.

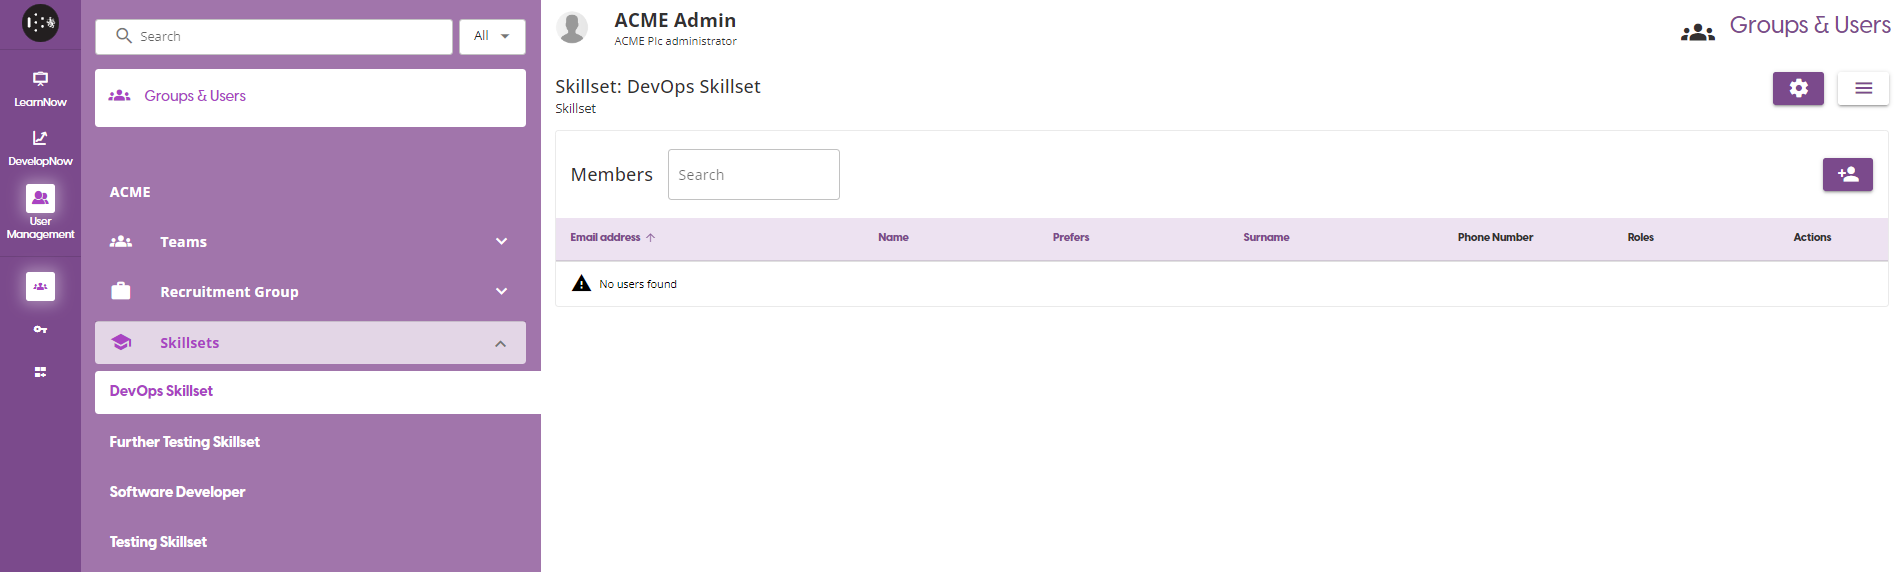
This will create the team, which will appear in the list of items on the left hand side of the page.
Group Settings
To access the group setting page, first select the group you wish to manage from the group list and then click on the 'Group Settings' button in the top right of the page.
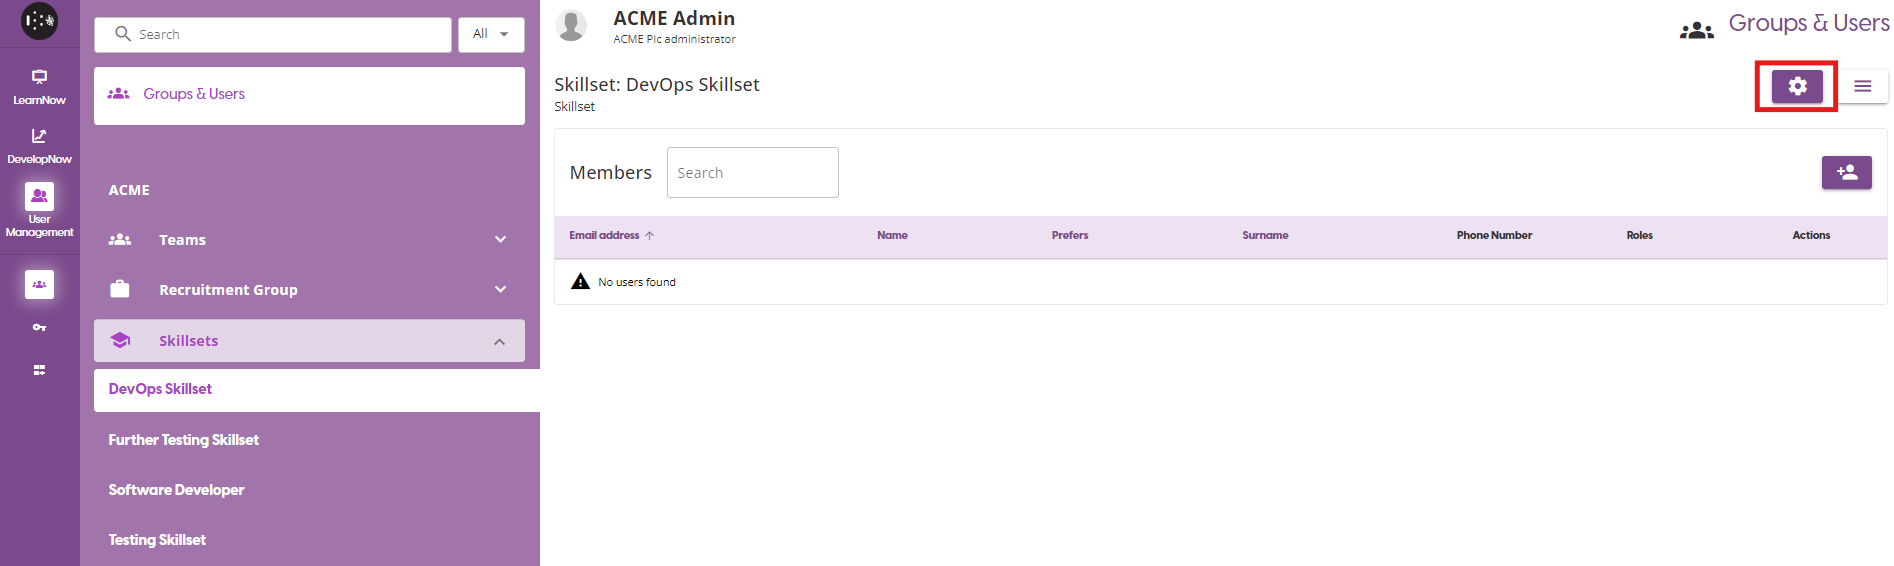
This will navigate you to the Group Settings page, where you have three options:
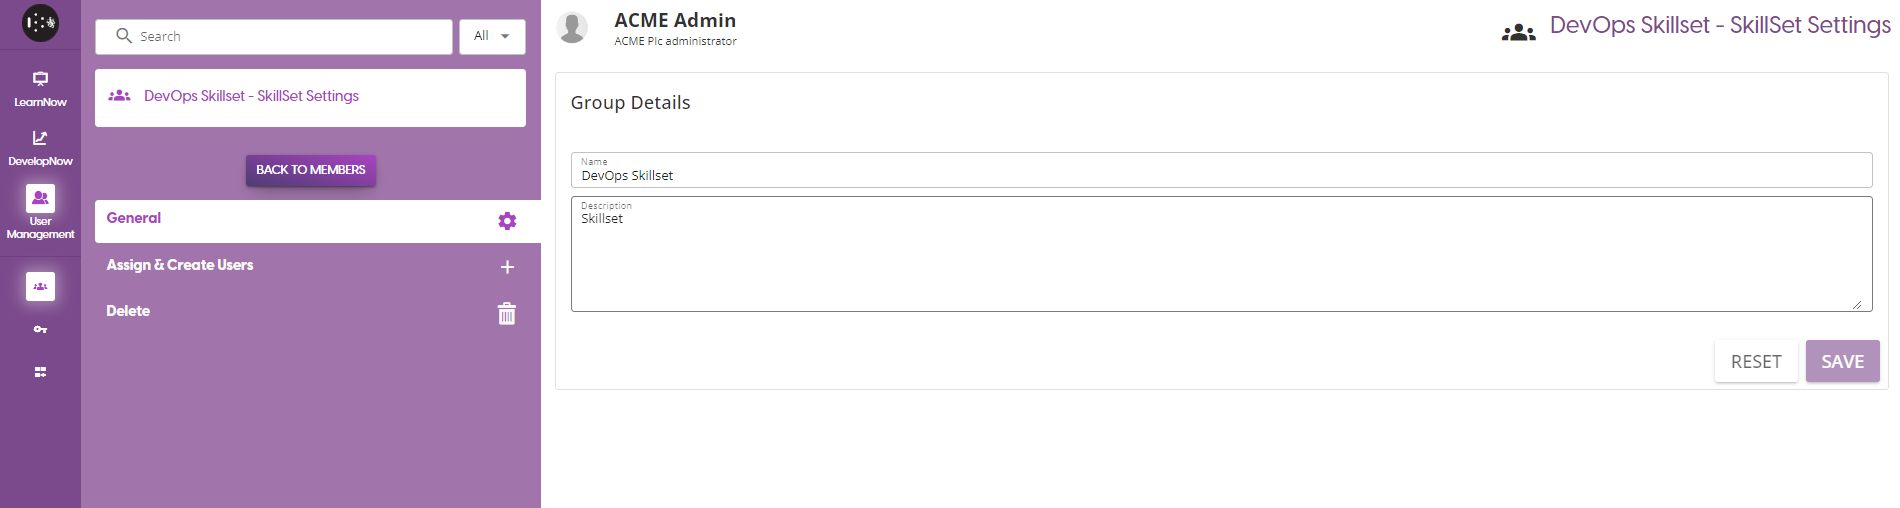
- General details
- This allows you to change the Name and Description of the group. To update either of the attributes, enter the new value into the respective field and click the 'Save' button. If you wish to undo the changes you have made before you click the save button, click on the 'Reset' button.
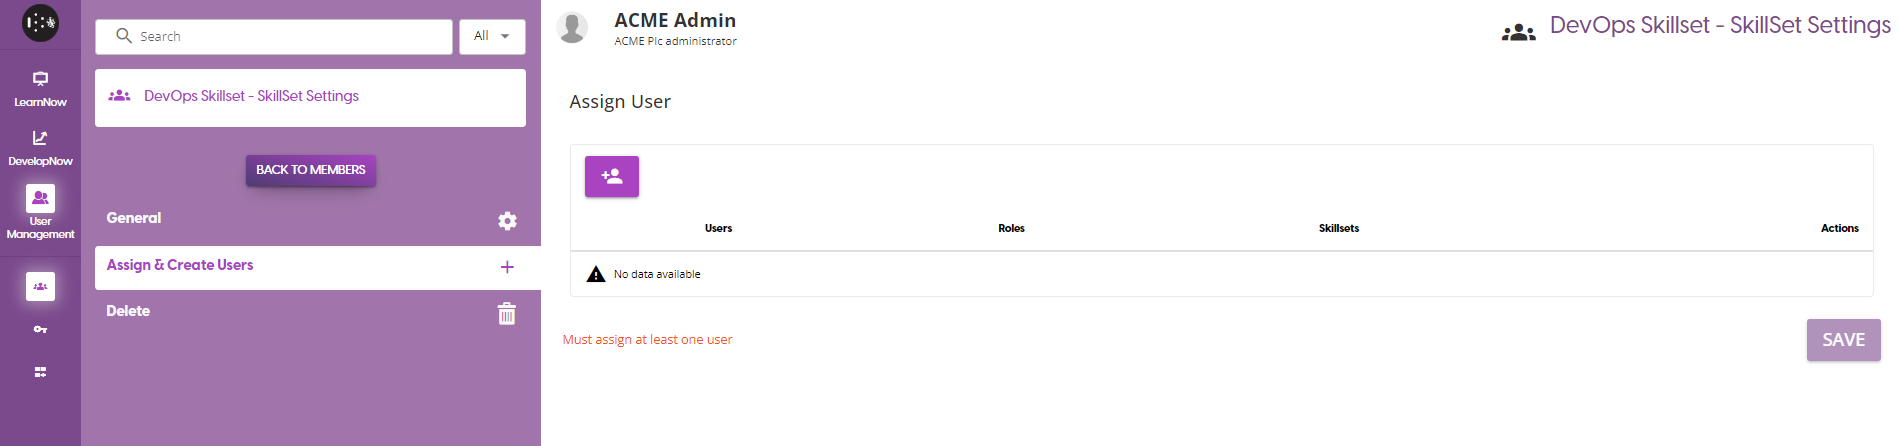
- Assign & Create Users
- Allows you to assign users from the company to the group. New users cannot be created at the group level. For more information on how this works, see here Assigning & Managing Users
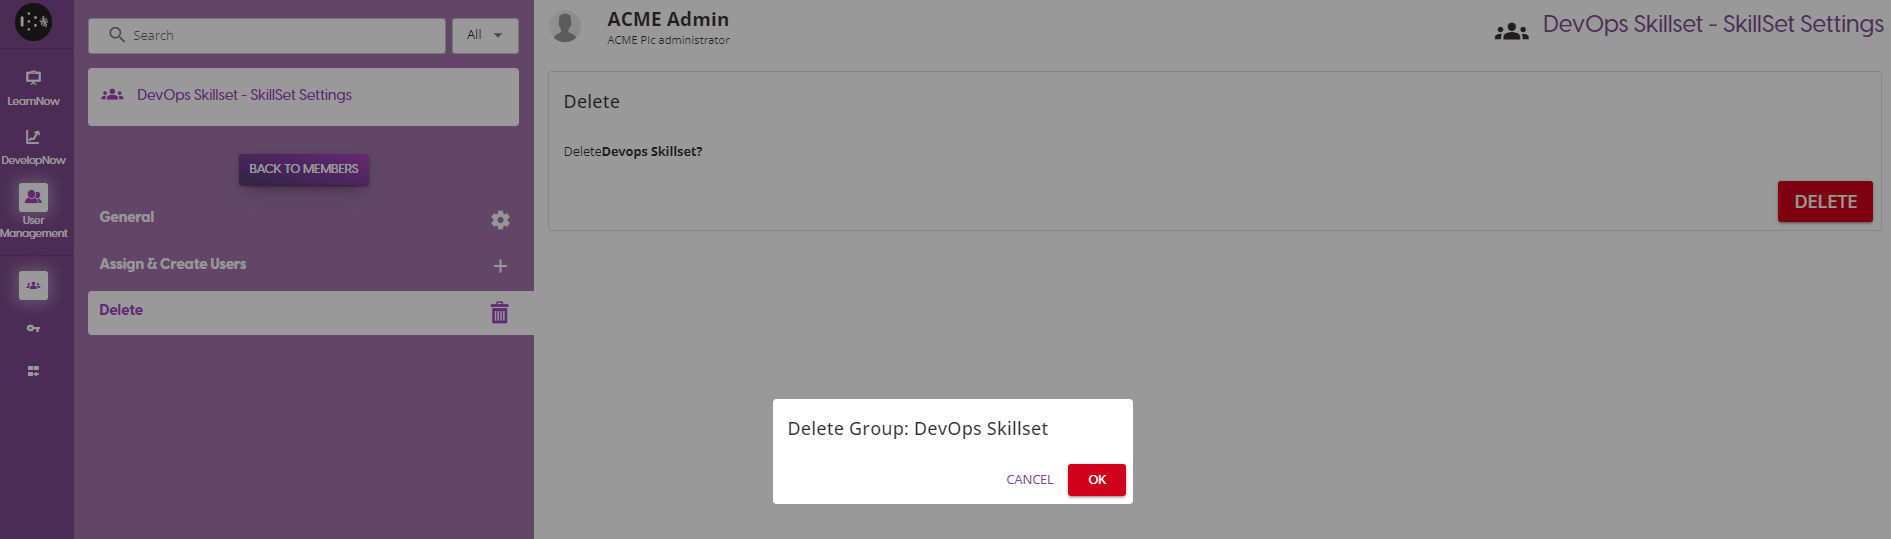
- Delete
- This allows you to delete the User Group. You will see a pop-up asking you to confirm the deletion of the group, and after clicking Yes the group will be permanently deleted and all users will lose their roles associated with the group.